A pattern is the visual starting point.
Begin with the effect you want on the finished garment, then refine motif scale and contrast. Checks, broken checks, zigzags and tonal mixtures are different ways to organise colour. None of those names establishes the composition or finished weight of a fabric.
The diagrams below explain motif families. They are unscaled illustrations, not a catalogue of samples or an offer of inventory.
Eight routes into the pattern atlas.
Choose a motif to learn what to record and what to ask for at the next sample round.
 Illustrative motif
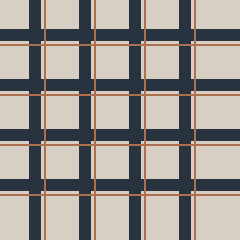
Check Tweed for Apparel Development
Intersecting bands make a grid. Record the two repeat directions and the separate colour roles before reviewing garment placement.
Read the guide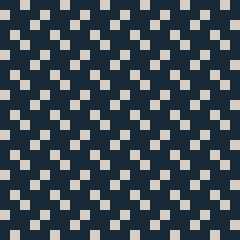 Illustrative motif
Houndstooth tweed: choose scale, colour and matching points
Compare houndstooth tweed directions for jacket development. Plan motif scale, colour contrast, matching points and a clearer sample request.
Read the guide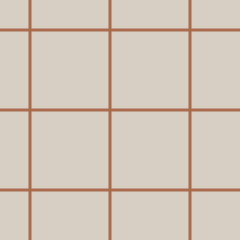 Illustrative motif
Plan a Windowpane Tweed
A relatively open grid leaves the ground colour visually prominent. Grid dimensions, line thickness and contrast belong in the brief as separate decisions.
Read the guide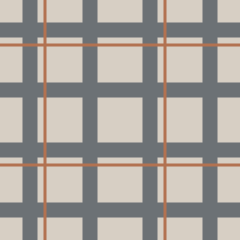 Illustrative motif
Understand Glen Check Tweed
A layered check combines smaller structures within a larger pattern. Review both the broad arrangement and the detail that gives it clarity.
Read the guide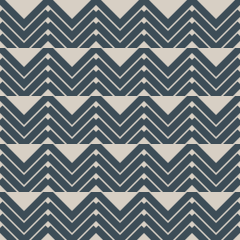 Illustrative motif
Where Herringbone Fits in a Tweed Collection
Alternating diagonal directions create the familiar zigzag effect. Herringbone is a pattern or weave direction found in different cloth categories, not a fibre composition.
Read the guide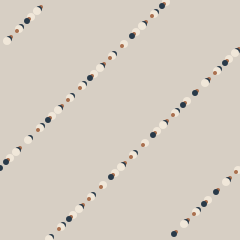 Illustrative motif
Select a Speckled Tweed Direction
Small coloured flecks sit within the ground. Describe fleck size, density and colour distribution rather than relying on a regional style name.
Read the guide Illustrative motif
Choose Heather and Melange Tweed
Mixed tones can create depth without a dominant geometric motif. Compare the overall colour impression as well as the individual yarn colours.
Read the guide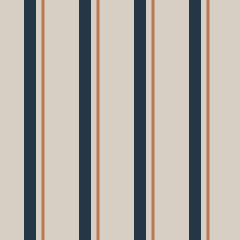 Illustrative motif
Plan Striped Tweed for Apparel
Direction, stripe spacing and colour rhythm define the visual brief. Record the repeat, not just the width of a single stripe.
Read the guideKeep four questions separate.
Scroll the table horizontally on small screens.
| Question | Useful evidence | Decision |
|---|---|---|
| What is the motif? | Wider pattern view | Pattern family and overall appearance |
| How large is it? | Measured reference showing the repeat | Repeat along and across the cloth |
| How visible is it? | Matched viewing scale and physical colour reference | Ground, secondary and accent contrast |
| How does it feel? | Physical sample and garment trial | Surface, cloth body and construction |
Compare at a shared viewing scale.
Use a reliable ruler or a documented photo scale when making actual size comparisons. Without that evidence, discuss appearance only. A large on-screen image can make a fine check look bolder than it will on a garment.
If dimensions are not yet known, record the question rather than guessing a repeat. Ask for a larger sample when a cutting does not contain the full motif.
Take this to the first discussion.
- Garment and intended silhouette
- Preferred motif and one alternative
- Measured scale, or scale to discuss
- Ground, secondary and accent colour roles
- Visible matching priorities
- Sample decision needed next
A direction you can keep refining.
Use the brief tool to organise a pattern preference with the garment and sampling task. A guide selection remains an editorial direction; it does not become a supplier article code. Ask Fred Textile to identify suitable actual references for the discussion.